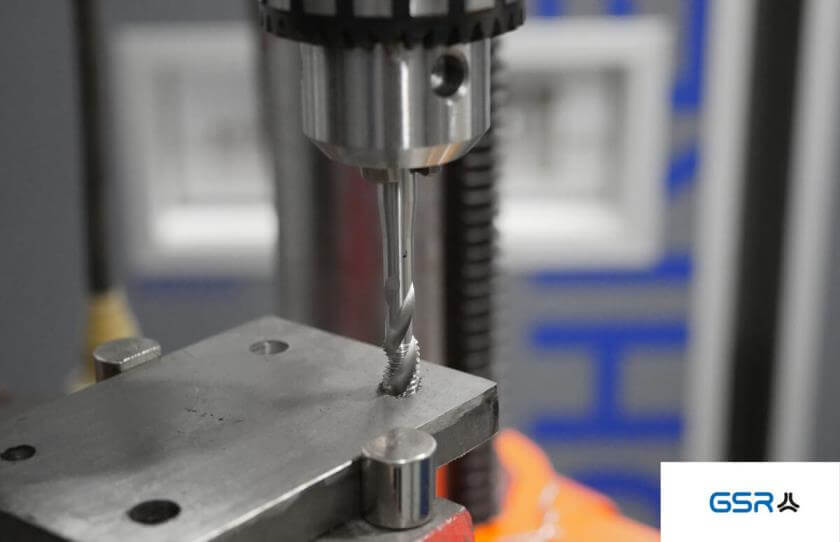
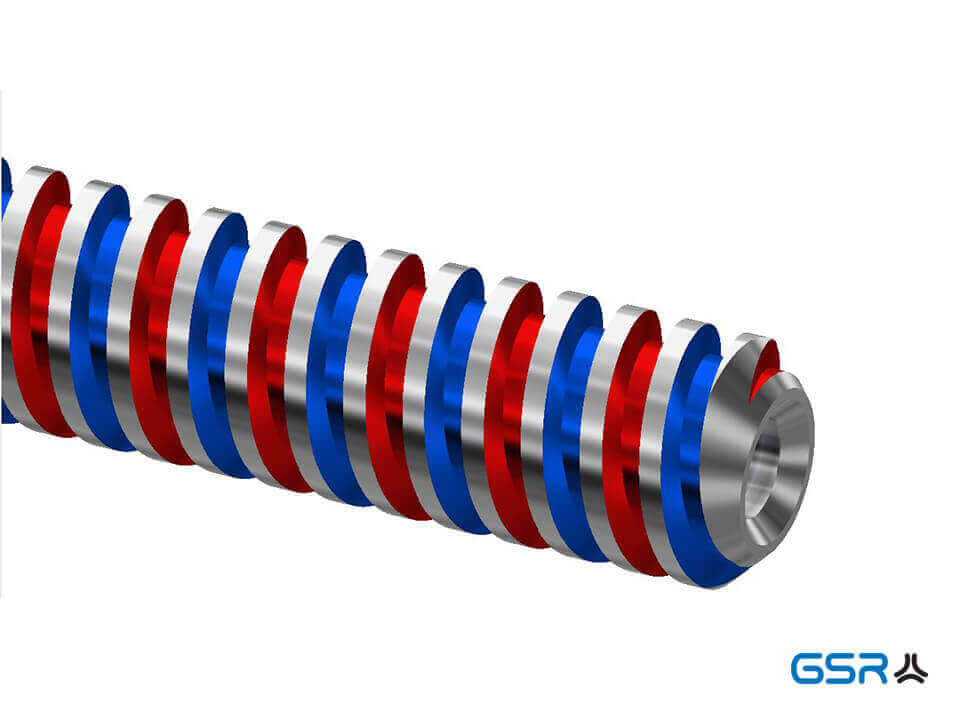
GSR hand tap guides: Plumb bob oriented tapping made easy!
The biggest failure to be assumed during tapping is the breakage of the tap in the tapped hole. In this blog post, we would like to start by describing two methods for plumb-line tapping and then introduce you to the innovative GSR manual tap guides.
As already described above, the biggest failure during thread cutting is the breakage of the tap. For two reasons: Firstly, it is the last operation in a process chain of drilling and countersinking. On the other hand: removing the broken tap can be very costly. The most frequent cause for this is the “crooked” application of the tap. This inevitably leads to the breakage of the tap. For this reason, special care should be taken when tapping and suitable tools should be used. The innovative solution from the GSR think tank: GSR Hand Tap Guides
These tips already come too late? Read here how to remove a broken tap or screw from the thread! Tap broken off – What can I do?Gewindebohrer abgebrochen – Was kann ich machen?
The classic method of thread cutting
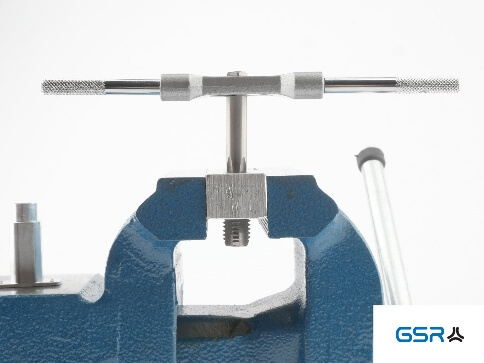
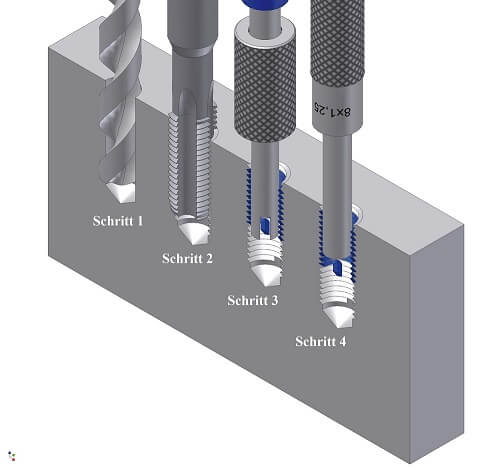
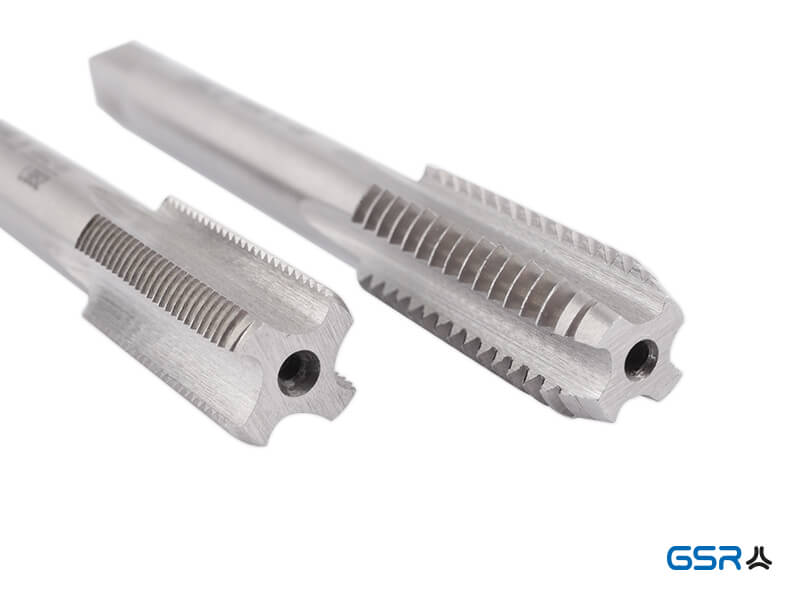
The classic method is to use a set of hand taps. It consists of three taps with different lead lengths. The tap with a ring has the longest lead and is used for tapping. It can be inserted very far into the core hole. If you then feel a slight “grip” when tapping, you can use a locksmith’s angle to check the plumb position and correct it if necessary. Click here for the video tutorial: Instructions for internal thread cutting
Method Tool holder with centering eye for thread cutting
The tool holder with centering eye offers another possibility. Here you can check and correct the perpendicular position by means of the level built into the head (see blog report). Prerequisite for this: It must be possible to bring the hole in the workpiece into a horizontal position.
Innovation: GSR Hand Tap Guides
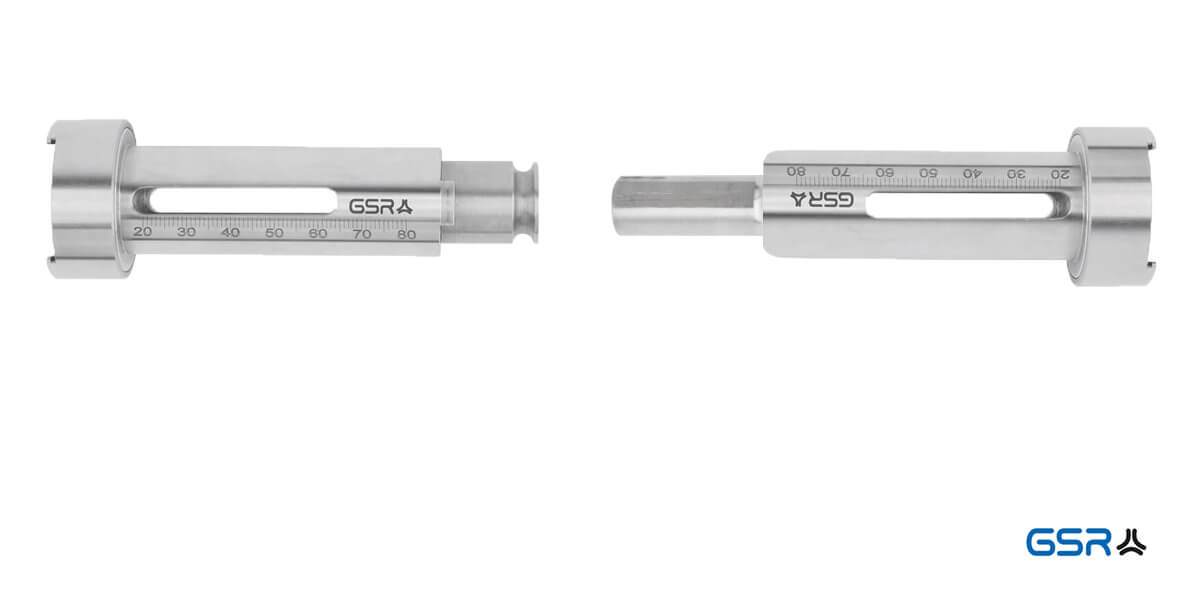
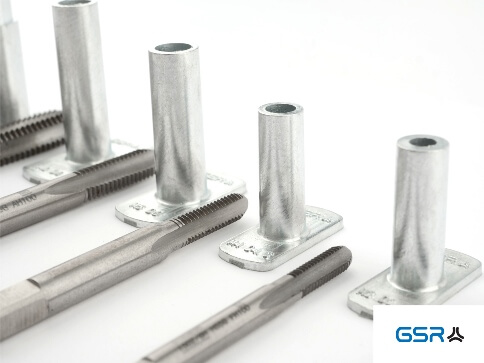
The simplest method, however, is to use the GSR tap guides. They are very easy to use and always lead to a good result, even if the drill hole is vertical or in an inclined plane. The principle is very simple: The inner diameter of the guide sleeve corresponds to the shank diameter of the tap. Thus, the tap is guided along the cylindrical shank perpendicular to the core hole. When the tap is subsequently inserted into the core bore up to the lead length, the drill is automatically centred at the tip of the drill because of the lead.
The GSR Hand Tap Guides are made of high quality zinc die-cast and have the same shank dimension as the tap in the upper area. In the lower area you have two right-angled supports which provide the right plumb line and which can be fixed by hand when tapping. The plumb bob-aligned tapping works even with very short ingates.
The hand tap guides are suitable for:
Application of the GSR Hand Tap Guides
First the tap guide is pushed onto the tap and then the adjustable tap wrench is attached. For longer threads, after tapping, the tap must be briefly unscrewed and the guide removed to finish the entire thread. Even with very short lead-ins (form C), it is possible to start the tapping process reliably.
Preparation and required tools
Pre-drilling the blind hole/ core hole: Click here for instructions
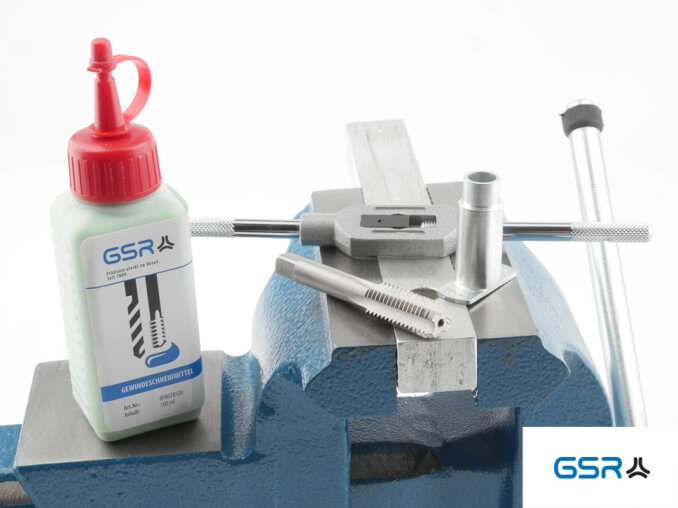
You need the following tools:
- Vise and protective jaws (optional) for safe clamping of the workpiece
- Suitable tap for thread cutting
- Matching hand tap guide for plumb bob accurate tapping
- Adjustable tap wrench to clamp the tap. Alternatively to the tap wrench, you can also use a tool holder with ratchet
- Thread paste for better machining
- Your workpiece
Step-by-step guide
Step 1: Push the tap from below through the tap guide!
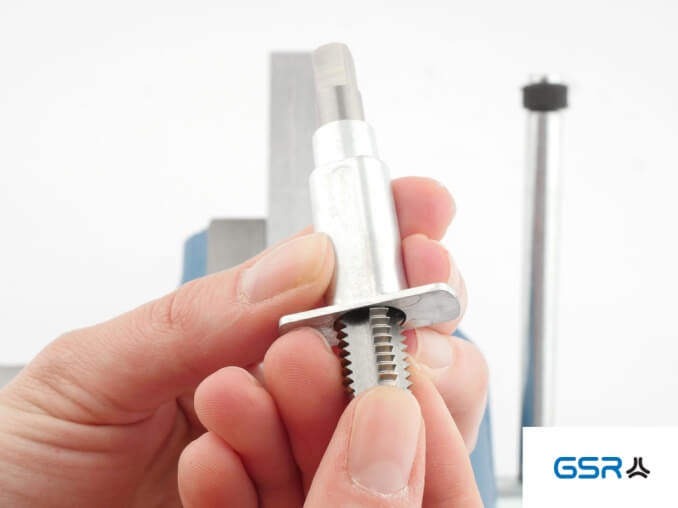
Step 2: Clamp the square of the tap into the adjustable tap wrench!

Step 3: Wet the cutting edges of the tap with thread paste!
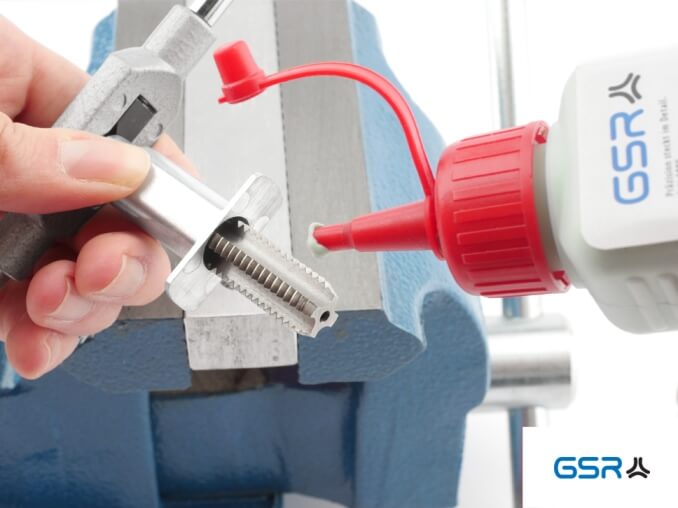
Step 4: Place the tap on the drill hole!
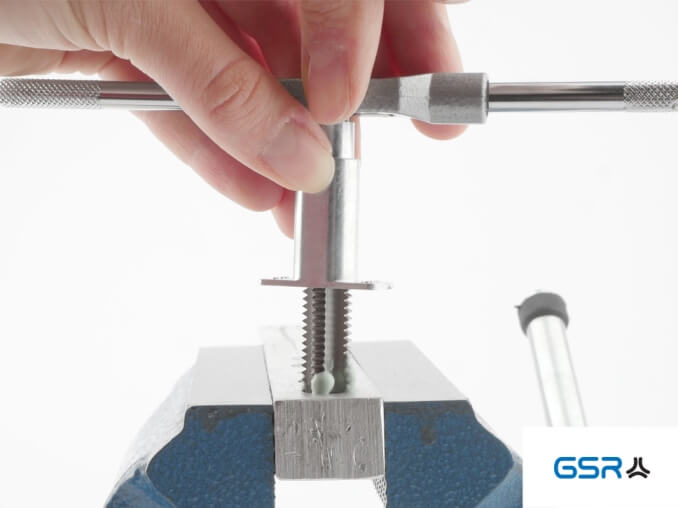
Step 5: Fix the tap guide as shown below and cut 2-3 courses. The guide ensures that the cut is made perpendicularly. The tap centres itself automatically.

Step 6: Remove the adjustable tap wrench!
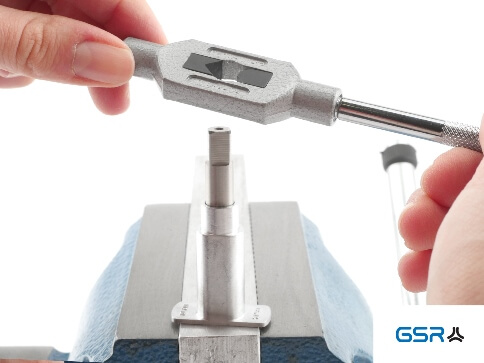
Step 7: Remove the hand tap guide towards the tap square (upwards)!
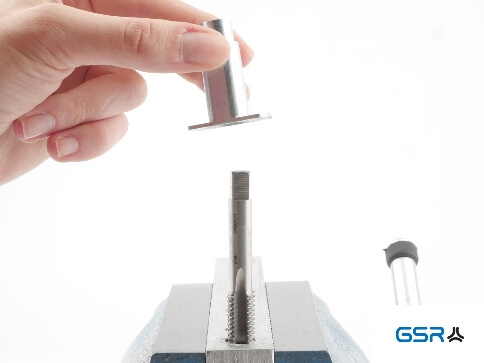
Step 8: Retighten the adjustable winch bar!
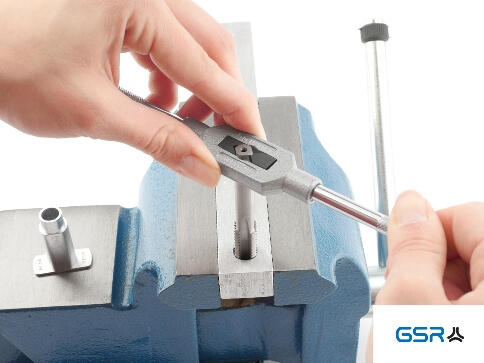
Step 9: Finish cutting the thread!
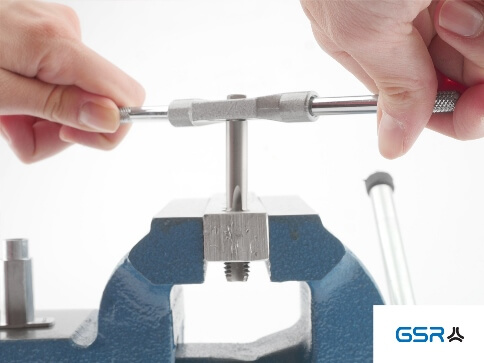
Technical table of tap guides
This overview shows all available hand tap guides No. 1 – 7 (M3 – M12) for the recommended nominal thread size.
| Nr. | Nominal thread size | Art.-No. |
| No. 1 | M3 | 00499201 |
| No. 2 | M4 | 00499202 |
| No. 3 | M5 | 00499203 |
| No. 4 | M6 | 00499204 |
| No. 5 | M8 | 00499205 |
| No. 6 | M10 | 00499206 |
| No. 7 | M12 | 00499207 |
All advantages of the GSR hand tap guides
- Easy handling
- Plumb bob-correct cutting
- Plumb for inclined plane or vertical drill hole
- Automatic centering of the hand tap
- Suitable for short gates (shape C)
- Suitable for hand taps and cutting taps according to DIN 352
GSR Hand tap guides in our shop
You can get our GSR innovation in our shop: www.Gewindewerkzeuge.com
- Complete hand tap guide set no. 1 – 7 – for M3 – M12
- Hand tap guide no. 1 – for M3
- Hand tap guide no. 2 – for M4
- Hand tap guide no. 3 – for M5
- Hand tap guide no. 4 – for M6
- Hand tap guide no. 5 – for M8
- Hand tap guide no. 6 – for M10
- Hand tap guide no. 7 – for M12
Do you have questions, feedback or criticism? Simply write to us via WhatsApp support!
