#3 Practical example: 3 steps for thread determination (Oldtimer 16-UN Unified Special Pitch)
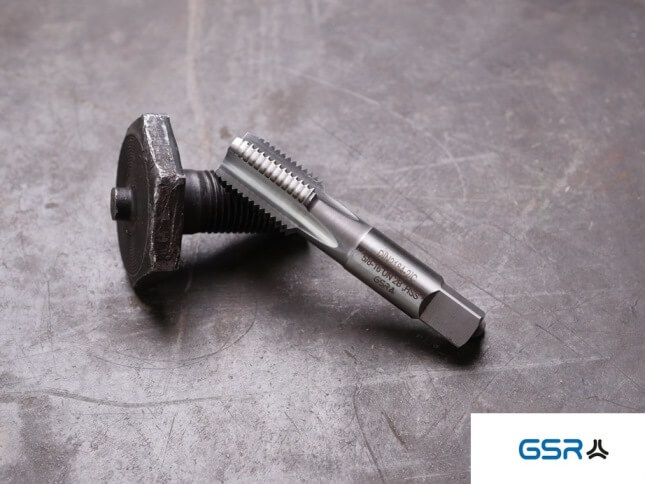
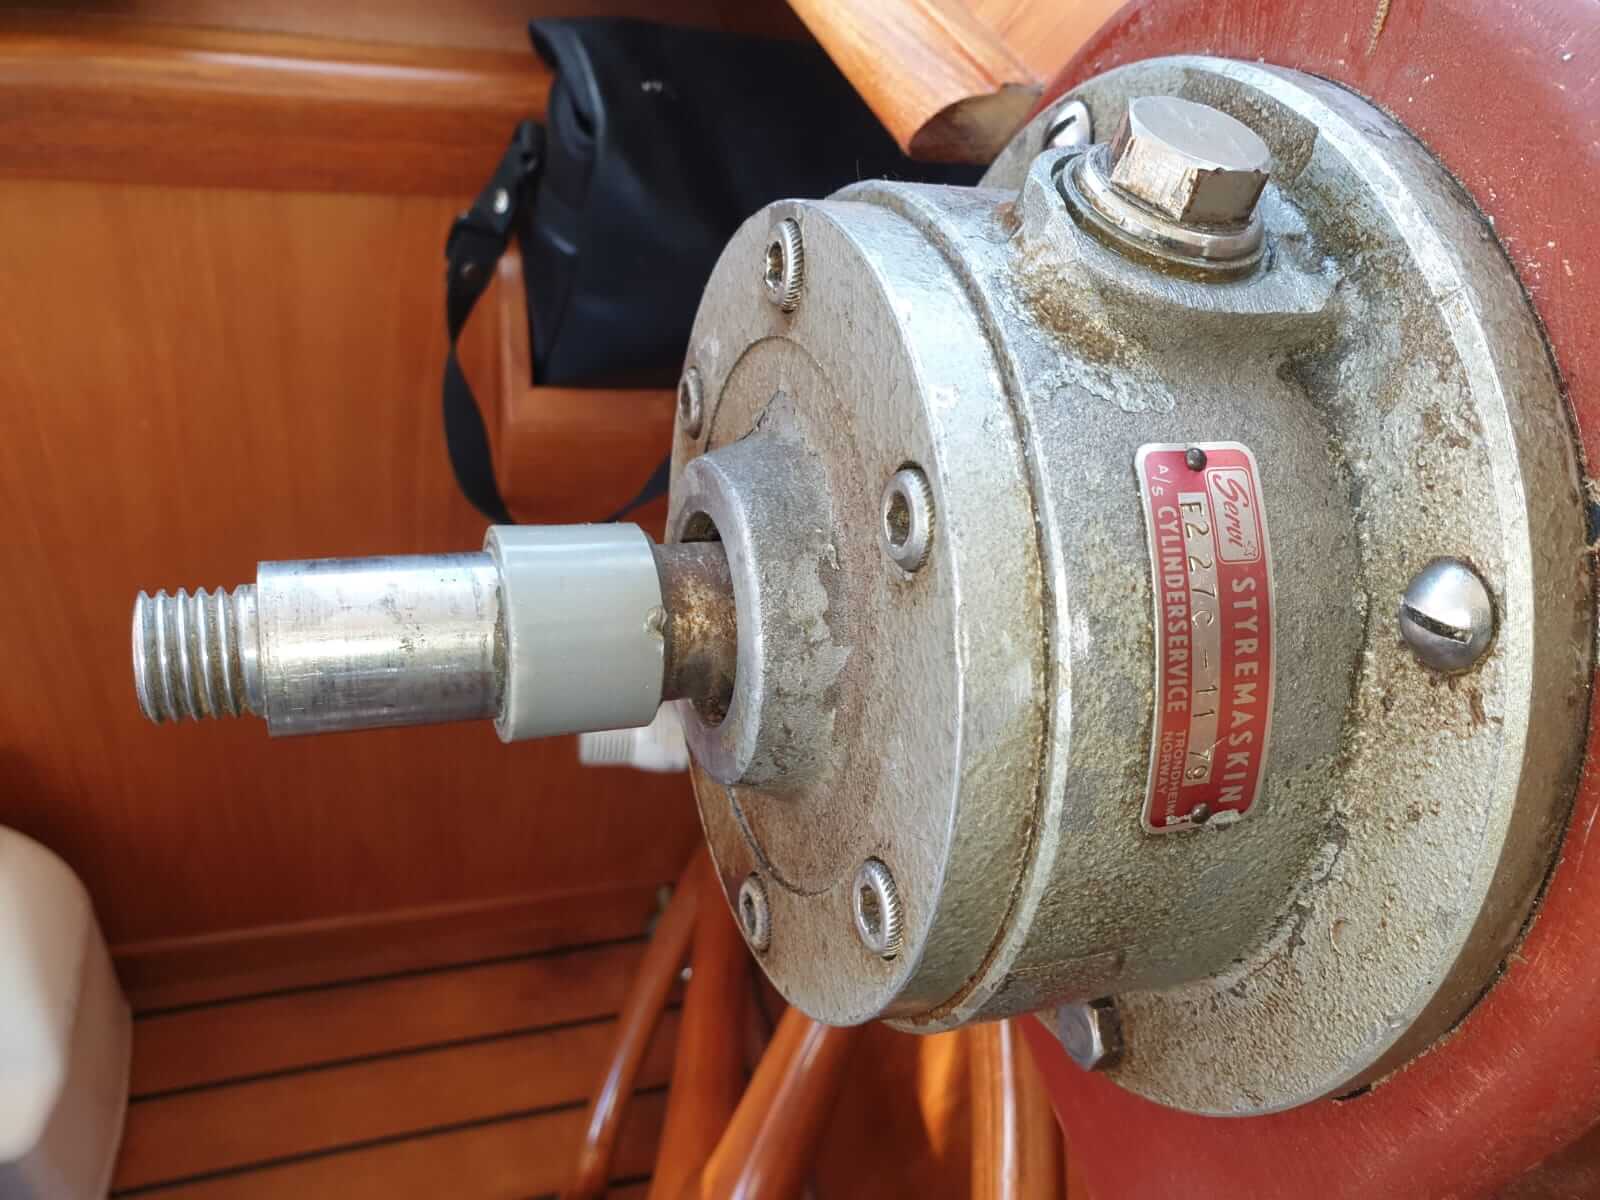
In our third part of the thread determination UN thread, we would like to give you further insights from our everyday operations. We received a customer enquiry from a motor vehicle company that specialises in the repair of vintage cars. A bolt thread for the crankshaft housing should be determined. On the Internet you can often find the descriptions “Threaded bolt to the front crank pin” or “Axle, pin to the V-belt pulley, threaded bolt” or also “Threaded bolt for the crankshaft housing”.
In the following 3 steps we would like to describe how we have designed the threaded bolt for classic cars. The thread instructions should enable you to easily determine the thread yourself.
Let’s go!
Preparation for thread determination
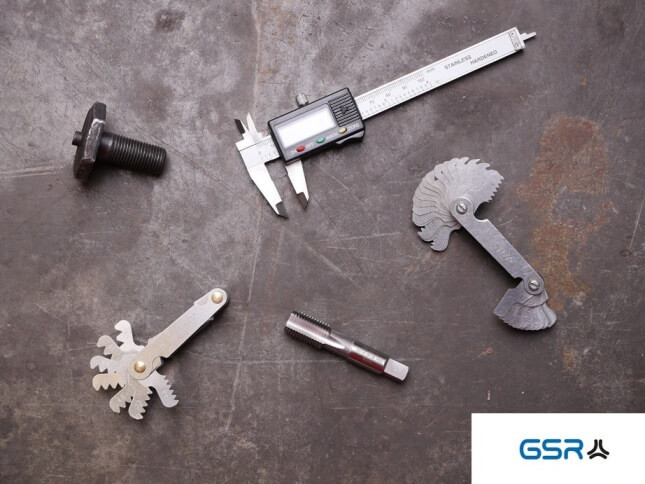
To prepare for the thread determination of the vintage threaded bolt, we needed a thread template (metric and imperial), a caliper gauge and a technical thread table.
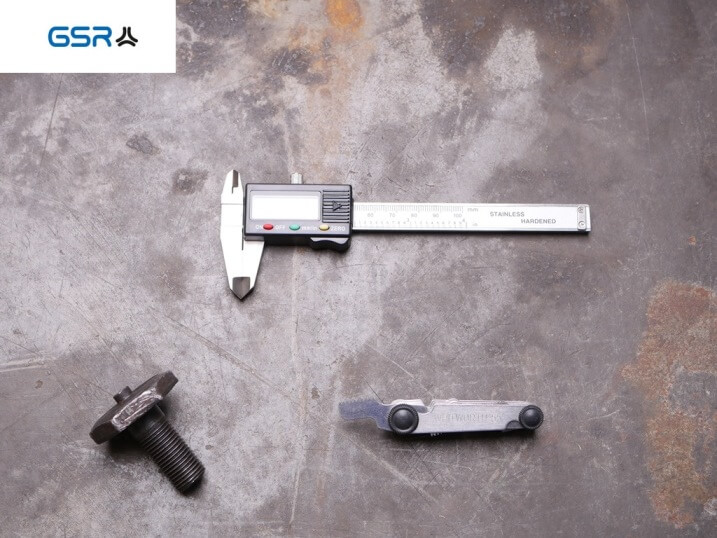
Step 1: Determine the threaded bolt diameter
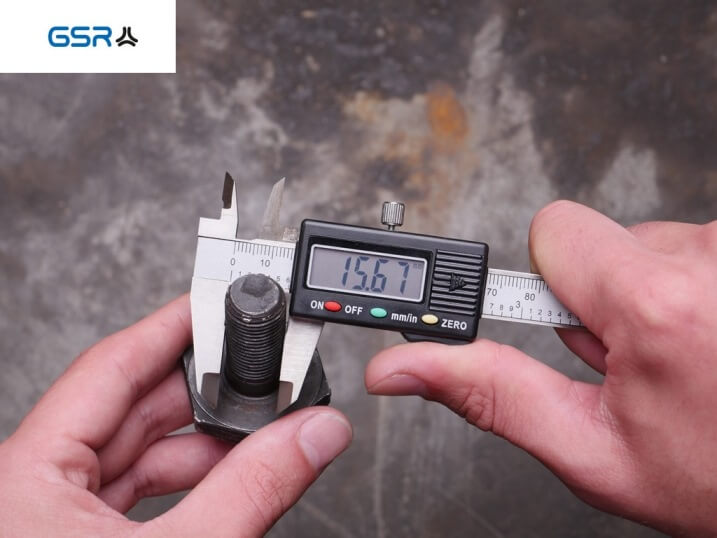
To determine the diameter of the threaded bolt, please use a caliper gauge. Place the wide legs of the caliper gauge straight or at an angle on the threaded bolt.
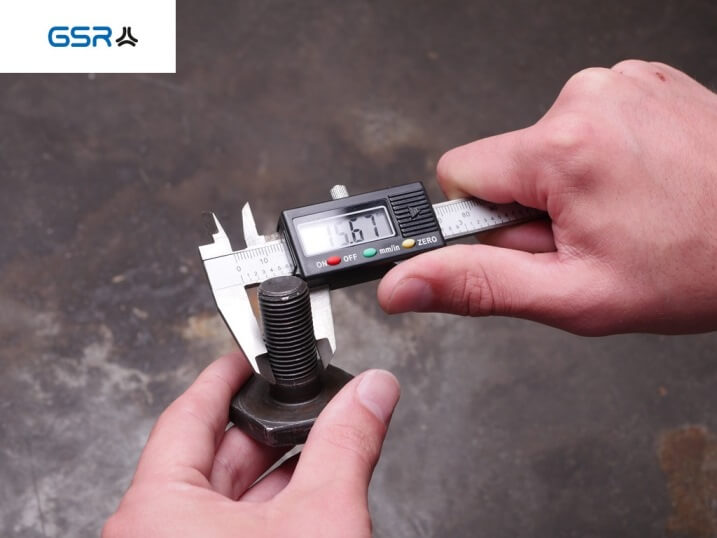
Step 1: Determine outer diameter
With a digital calliper you will now see the diameter. With our threaded bolt for an oldtimer the diameter was 15.67 mm = 5/8″ inch
Step 2: Determine the pitch of the threaded bolt
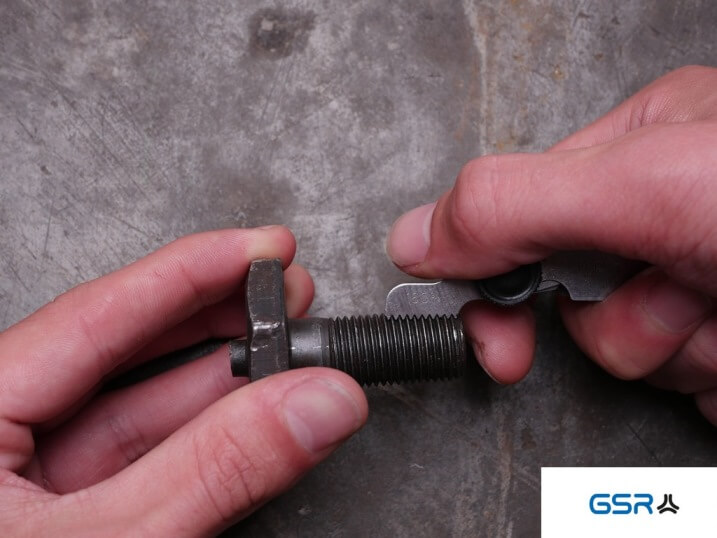
To determine the pitch of the threaded bolt in the next step, you need a thread template. Try out all the blades until you find the one that fits.
This requires a very precise eye and care, as the pitch diameters 55 degrees and 60 degrees appear very similar. More about the differences can be found in the blog post:
The 13 most important thread types you should know

Step 2: Determining the gradient
On our bolt, the pitch was 16 gears per inch (inches to 25.4 mm) 1.587 mm pitch with a 60 degree flank angle.
Step 3: Look up the values in a technical table
In the last step, it is usually sufficient to look up the values in technical tables. Although the thread dimension is not a special thread, it is not very common in German-speaking countries.
Values to look up:
- Threaded bolt diameter 15.67 mm = 5/8″
- Pitch 16 gears per inch (inches to 25.4 mm)
Since the few will have these technical tables at home, we have provided a technical table with outside diameter, core hole diameter, thread name etc.
Technical table 12-UN thread (Unified Special Pitch)
| Thread name | Outdoor- diameter (mm) |
Core Hole- diameter (mm) |
gears per inch | Steigung (mm) |
| 7/16″ – 16-UN | 11,112 | 9,576 | 16 | 1,587 |
| 1/2″ – 16-UN | 12,700 | 11,200 | 16 | 1,587 |
| 9/16″ – 16-UN | 14,288 | 12,800 | 16 | 1,587 |
| 5/8″ – 16-UN | 15,875 | 14,400 | 16 | 1,587 |
| 11/16″ – 16-UN | 17,462 | 16,000 | 16 | 1,587 |
| 13/16″ – 16-UN | 20,637 | 19,100 | 16 | 1,587 |
| 7/8″ – 16-UN | 22,225 | 20,700 | 16 | 1,587 |
| 15/16″ – 16-UN | 23,813 | 22,300 | 16 | 1,587 |
| 1″ – 16-UN | 25,400 | 23,900 | 16 | 1,587 |
| 1 1/16″ – 16-UN | 26,987 | 25,500 | 16 | 1,587 |
| 1 1/8″ – 16-UN | 28,575 | 27,100 | 16 | 1,587 |
| 1 3/16″ – 16-UN | 30,162 | 28,700 | 16 | 1,587 |
| 1 1/4″ – 16-UN | 31,750 | 30,300 | 16 | 1,587 |
| 1 5/16″ – 16-UN | 33,337 | 31,750 | 16 | 1,587 |
| 1 3/8″ – 16-UN | 34,925 | 33,400 | 16 | 1,587 |
| 1 7/16″ – 16-UN | 36,512 | 35,000 | 16 | 1,587 |
| 1 1/2″ – 16-UN | 38,100 | 36,600 | 16 | 1,587 |
| 1 9/16″ – 16-UN | 39,688 | 38,200 | 16 | 1,587 |
| 1 5/8″ – 16-UN | 41,275 | 39,800 | 16 | 1,587 |
| 1 11/16″ – 16-UN | 42,862 | 41,350 | 16 | 1,587 |
| 1 3/4″ – 16-UN | 44,450 | 43,000 | 16 | 1,587 |
| 1 13/16″ – 16-UN | 46,037 | 44,500 | 16 | 1,587 |
| 1 7/8″ – 16-UN | 47,625 | 46,100 | 16 | 1,587 |
| 1 15/16″ – 16-UN | 49,212 | 47,700 | 16 | 1,587 |
| 2″ – 16-UN | 50,800 | 49,300 | 16 | 1,587 |
| 2 1/8″ – 16-UN | 53,975 | 52,600 | 16 | 1,587 |
| 2 1/4″ – 16-UN | 57,150 | 55,650 | 16 | 1,587 |
| 2 3/8″ – 16-UN | 60,325 | 58,850 | 16 | 1,587 |
| 2 1/2″ – 16-UN | 63,500 | 62,000 | 16 | 1,587 |
| 2 5/8″ – 16-UN | 66,675 | 65,150 | 16 | 1,587 |
| 2 3/4″ – 16-UN | 69,850 | 68,350 | 16 | 1,587 |
| 2 7/8″ – 16-UN | 73,025 | 71,500 | 16 | 1,587 |
| 3″ – 16-UN | 76,200 | 74,700 | 16 | 1,587 |
| 3 1/8″ – 16-UN | 79,375 | 77,850 | 16 | 1,587 |
| 3 1/4″ – 16-UN | 82,550 | 81,000 | 16 | 1,587 |
| 3 3/8″ – 16-UN | 85,725 | 84,200 | 16 | 1,587 |
| 3 1/2″ – 16-UN | 88,900 | 87,400 | 16 | 1,587 |
| 3 5/8″ – 16-UN | 92,075 | 90,550 | 16 | 1,587 |
| 3 3/4″ – 16-UN | 95,250 | 93,750 | 16 | 1,587 |
| 3 7/8″ – 16-UN | 98,425 | 96,900 | 16 | 1,587 |
| 4″ – 16-UN | 101,600 | 100,100 | 16 | 1,587 |
| 4 1/8″ – 16-UN | 104,775 | 103,300 | 16 | 1,587 |
| 4 1/4″ – 16-UN | 107,950 | 106,450 | 16 | 1,587 |
| 4 3/8″ – 16-UN | 111,125 | 109,600 | 16 | 1,587 |
| 4 1/2″ – 16-UN | 114,300 | 112,800 | 16 | 1,587 |
| 4 5/8″ – 16-UN | 117,475 | 116,000 | 16 | 1,587 |
| 4 3/4″ – 16-UN | 120,650 | 119,150 | 16 | 1,587 |
| 4 7/8″ – 16-UN | 123,825 | 122,300 | 16 | 1,587 |
| 5″ – 16-UN | 127,000 | 125,500 | 16 | 1,587 |
| 5 1/4″ – 16-UN | 133,350 | 131,850 | 16 | 1,587 |
| 5 1/2″ – 16-UN | 139,700 | 138,200 | 16 | 1,587 |
| 5 5/8″ – 16-UN | 142,875 | 141,350 | 16 | 1,587 |
| 5 7/8″ – 16-UN | 149,225 | 147,750 | 16 | 1,587 |
| 6″ – 16-UN | 152,400 | 150,900 | 16 | 1,587 |
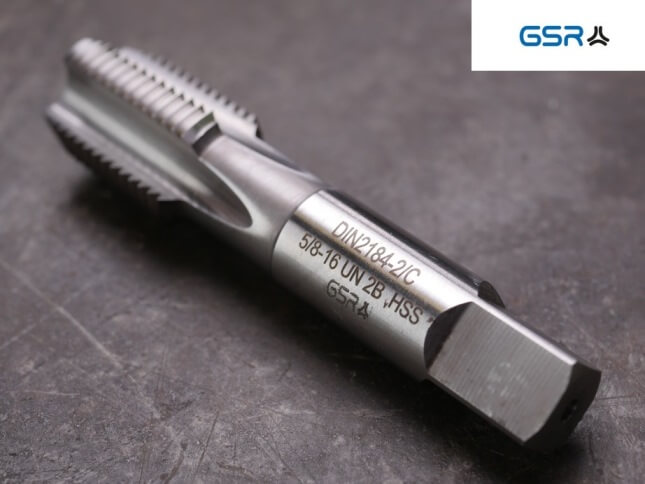
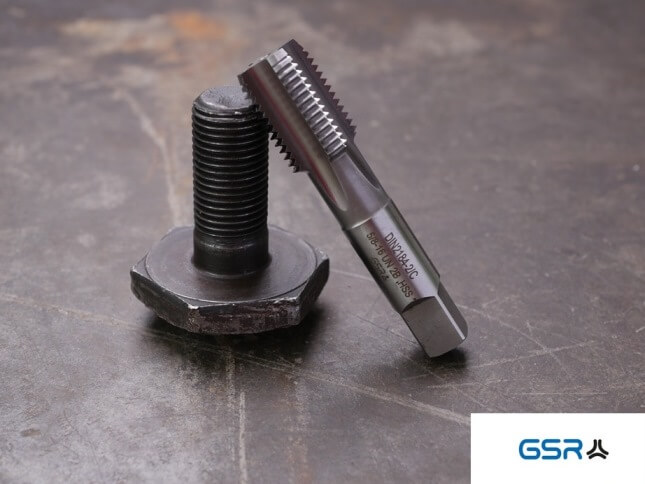
It is a UN thread (Unified Special Pitch) with 16 turns per inch.
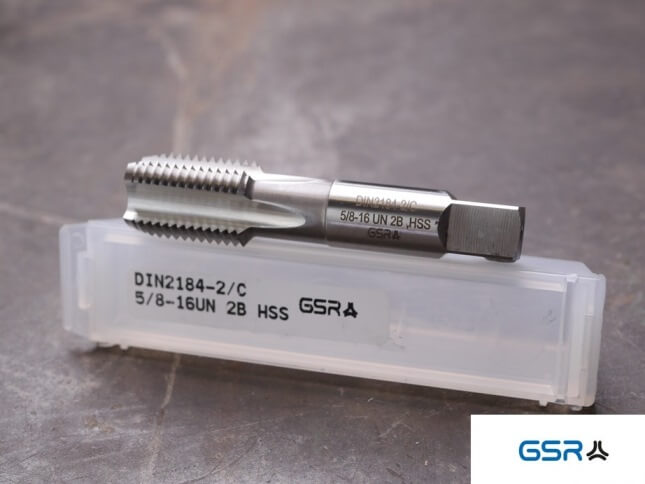
- Tap DIN 2184-2/C 5/8-16 UN
Digression UN Unified with Special Pitch
The UN thread is an American thread with special pitch. A distinction is made between 8 threads per inch (8-UN), 12 threads (12-UN), 16 threads (16-UN) and 20 threads (20-UN). The flank angle for the UN thread is 60 degrees.
If you have any questions about thread determination, please do not hesitate to contact us. We will help you free of charge.
Available in our shop:
- Caliper gauge (analog or digital) Available in our Shop
- Thread template (metric and imperial) Available in our Shop
- A technical table (here: free thread comparison table from our manual)
- Thread determination sets
