Guide the cable through a thin plate – correctly install a step nipple using step drills
Step drills are the specialists for drilling into thin materials of max. 4 mm thickness. One of the many applications of this tool is the installation of cable bushings. The following article will show you how to do this!
Various Cable bushings
For electrical installations it is often necessary to install cables or to lead hoses out of or into a housing. For this purpose the Cable safely and sealed by the housing material (usually a thin sheet of metal or thin plastic) through it. To do this, one uses so-called Cable glands.
Besides the sealing there are further advantages of these Bushings: they also arrange and insulate the cables. Sometimes on But the most important thing is that a strain relief is manufactured. Thus the cables are protected, do not chafe on the edge of the Drill and do not break so easily.
Cable bushings are available in many different variations. Whether bushings for desks or membrane grommets for sealing cable exits – for every application there is a suitable Cable gland. Today, however, we are dealing with the so-called step nipples and how to professionally installed.
Stepped nipples are very versatile: Due to their form, they can be used not only in materials of different thicknesses. They can also be used for cables of different thicknesses, as they can be used in several steps and thus the ideal diameter for its cables and wires. receives.
But how do I assemble a step nipple would be best?
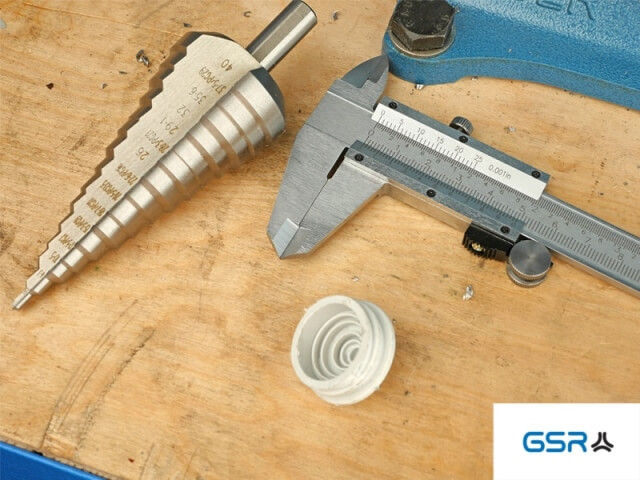
You only need a few things:
- a stage nipple.
- a calliper and (to Shop)
- a step drill (to Shop)
For this we use our GSR PROFI electric step drill. In addition to the steps in mm, this drill has dimensions for armoured pipe threads (PG).
Measuring
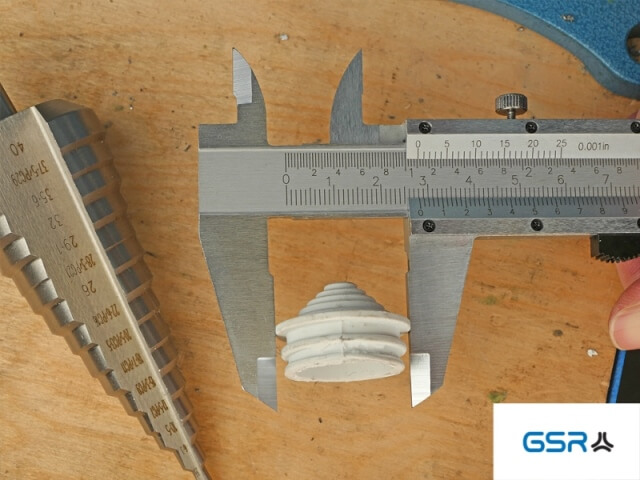
First measure the step nipple with the aid of the slide gauge. This is done in 2 places: first measure the wider of the two sealing rings. This gives you the dimension which the diameter of the bore must not exceed. Then measure the recess between the sealing rings – this is the minimum dimension of the bore diameter.
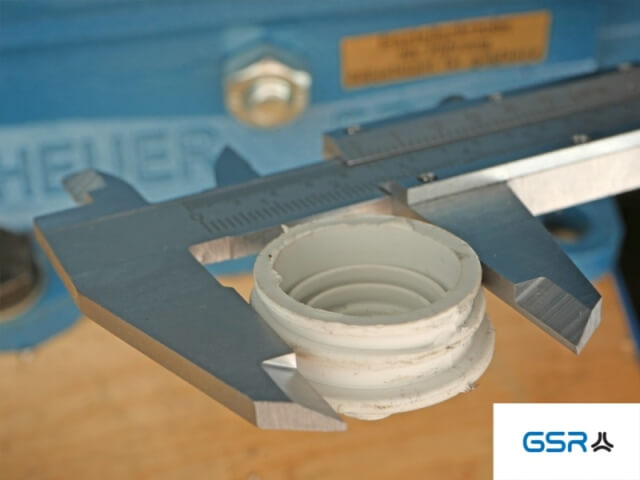
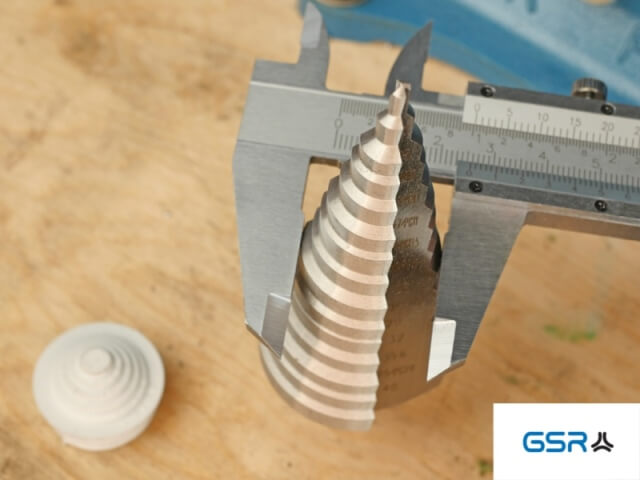
Once you have found your two measurements, look at the laser marking on the step drill. The step used for drilling should be between the measured dimensions of the step angle in terms of diameter. This ensures that the step nipple fits into the hole and cannot slip out. To be on the safe side, you can also measure the diameter of the desired drill step on the step drill again with the slide gauge.
Drill preparation
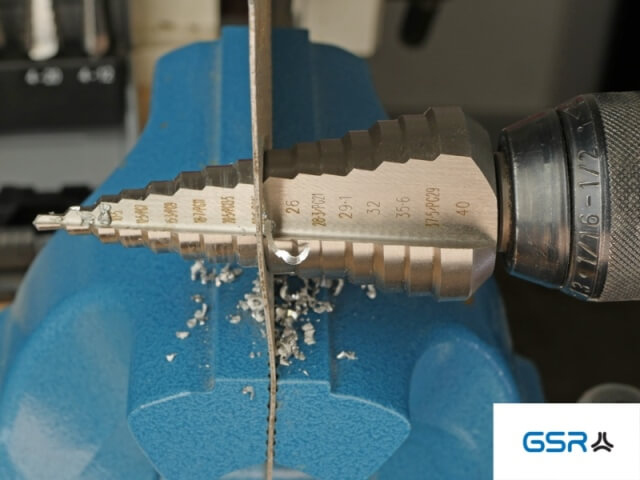
Next, the step drill is clamped into the drill chuck of the cordless drill. Thanks to the practical three-surface shaft, the GSR step drills hold perfectly in the drill chuck and slippage is thus minimised.
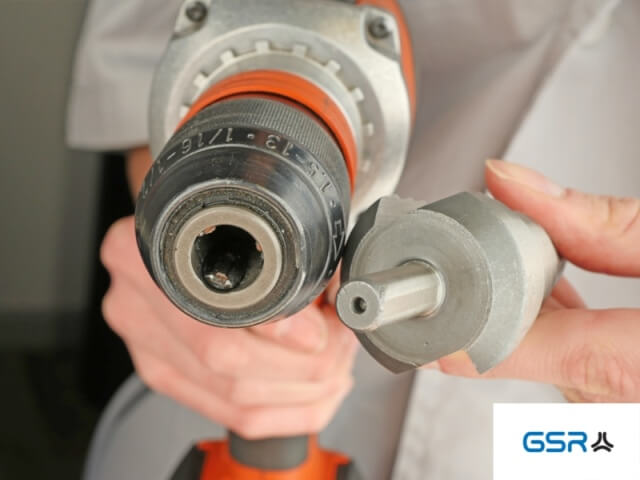
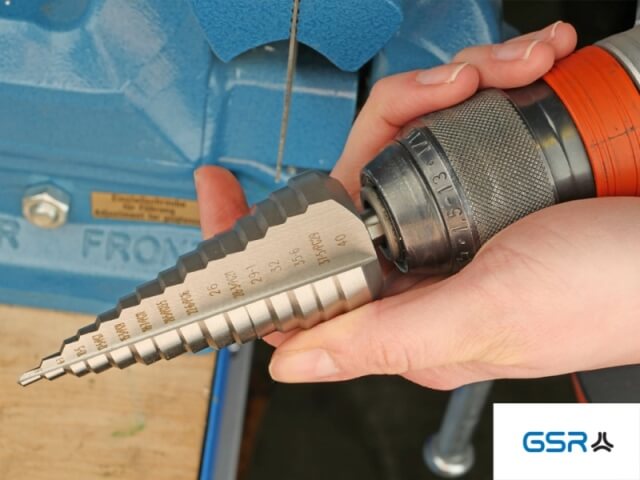
Here is a small tip: After clamping the drill chuck, it is best to mark the step to be drilled with a coloured pen. This way you do not drill too far and can proceed quickly without having to pay attention to the laser marking!
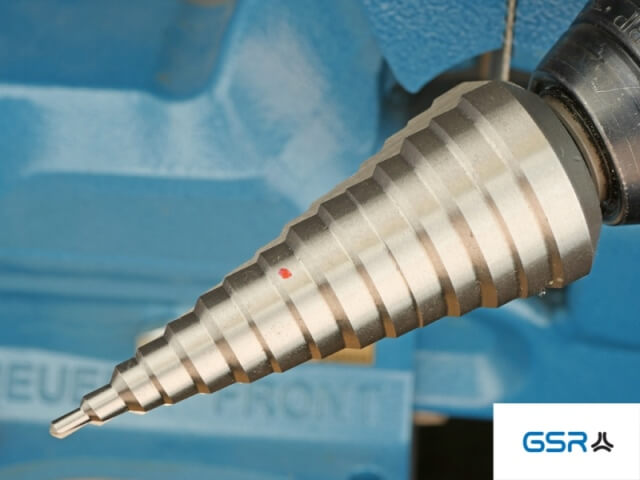
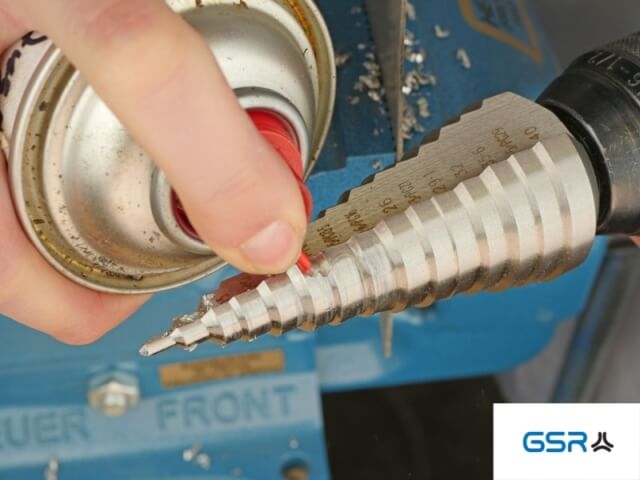
Very important: prepare the drill with cutting oil so that the drill does not run hot and the tool life of the tool is maintained.
Drilling
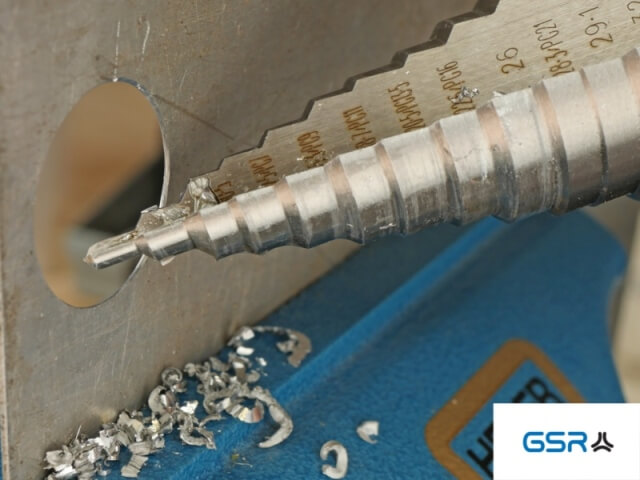
With the step drills from GSR, no additional tools are needed to drill the through hole: centering, tapping, reaming and deburring are all done in a single operation.

Once you have reached the desired drilling step, you can easily deburr the hole with the next drilling step.
Step nipple install
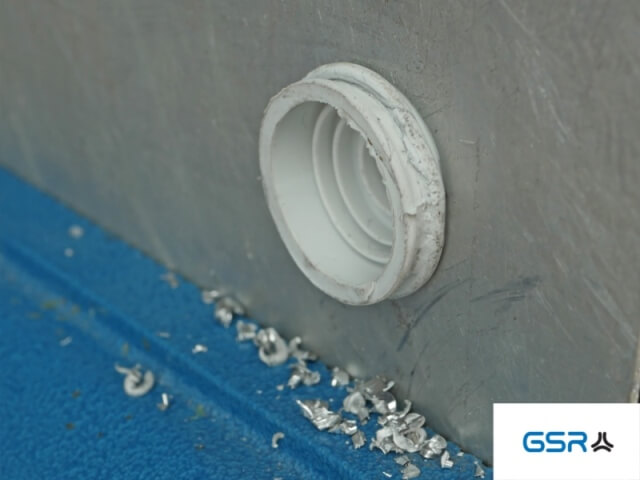
Finally, insert the step nipple into the hole. With a little pressure you can push the first sealing ring through the opening – then the bore should be comfortably enclosed by both rings. The step nipple should not wobble or even slip out, because then the bore is too large.
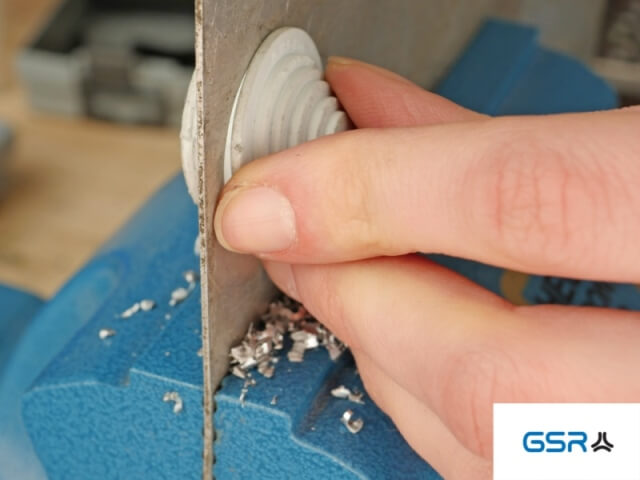
This is what the installed step nipple looks like from the front and the back. In our example we have left the cable gland intact. Before or after insertion, the step nipple should of course be shortened according to the required cable thickness.

Conclusion
The application areas of a step drill are very diverse. They are especially good for the installation of cable bushings to use!
Here again a small checklist to check:
- Getting the tool ready
a. Step Drill
b. Caliper
c. Step nipple
d. Cutting Oil
e. Cordless screwdriver - Measure step nipples
- Mark the desired step on the step drill
- Clamp and oil the step drill in the cordless screwdriver
- Drill through hole and deburr with the next step
- Shorten the step nipple
- Insert step nipple


