How to drill into metal in 3 steps
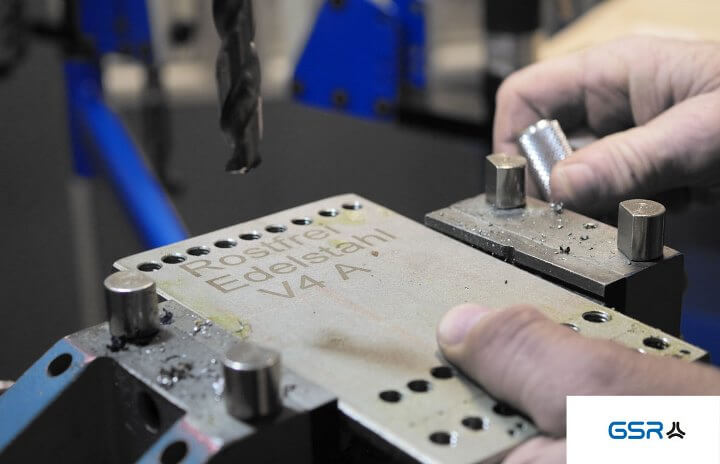
Step 1: Selecting the drill bits
For most types of metal (iron, unalloyed steel, aluminium, copper, brass or zinc) a drill made of high speed steel (HSS) is used. A distinction is made between roll-rolled and ground twist drills. Roll-rolled drills are heated and then the helix is formed. The process is fast and therefore cost-effective, the structure of the material is preserved. Roll-rolled drills are usually black burnished and often the abbreviation HSSR is used. Ground drills are ground from the solid material after hardening. This takes longer, but the manufacturing process leads to a better result in terms of concentricity and precision of the outer diameter. Therefore this type is more expensive. It is usually offered in a bright finish and is marked with the abbreviation HSSG. Stainless steels are harder than normal steels. It is better to use a cobalt-alloyed or TiN-coated twist drill, as with the other types the drill tip can quickly anneal and thus become unusable. The TiN (Titanium Nitride) coated twist drills are ground twist drills, which are coated in a PVD process at a temperature of 200-500°. This coating gives a higher hardness and better temperature resistance and thus protects the drill bit from rapid wear. Cobalt alloy twist drills usually contain 5% (designation HSSE or HSS Co 5) or 8% (designation HSSE-Co 8) cobalt in the material. The alloy gives the material higher durability, wear resistance and temperature resistance.
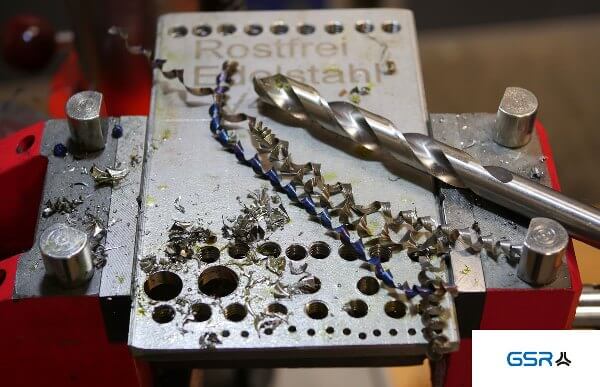
Metal twist drill (Split Point), stainless steel plate with drill holes and metal chips
You can find more information under:
Metal twist drills – 3 facts you should know about twist drills
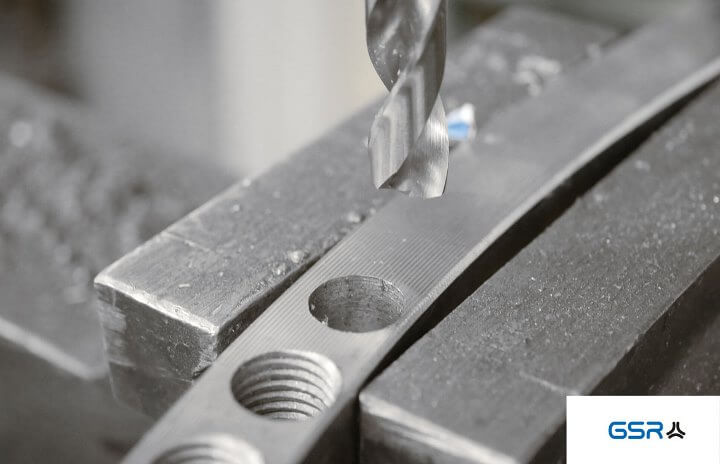
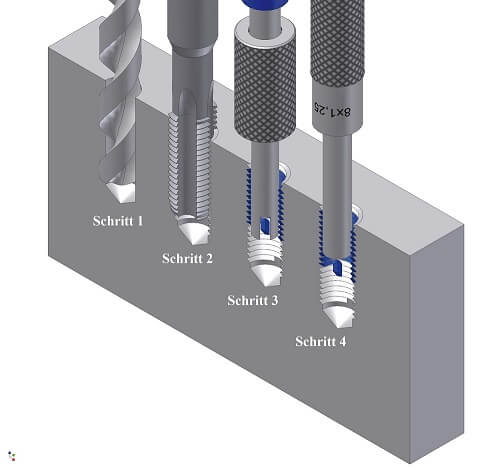
Drilling in metal: twist drill with split point, core hole and threaded hole.
Step 2: Preparatory work – The cutting speed
First of all, you must select the correct cutting speed. It is determined by the material being machined. In the 2nd table you will find guide values for cutting speeds for different materials. Please first select the cutting speed for your material.
Then you can read off the 1st table in the left column the speed that must be selected for the cutting speed and for your drill diameter.
Formula:

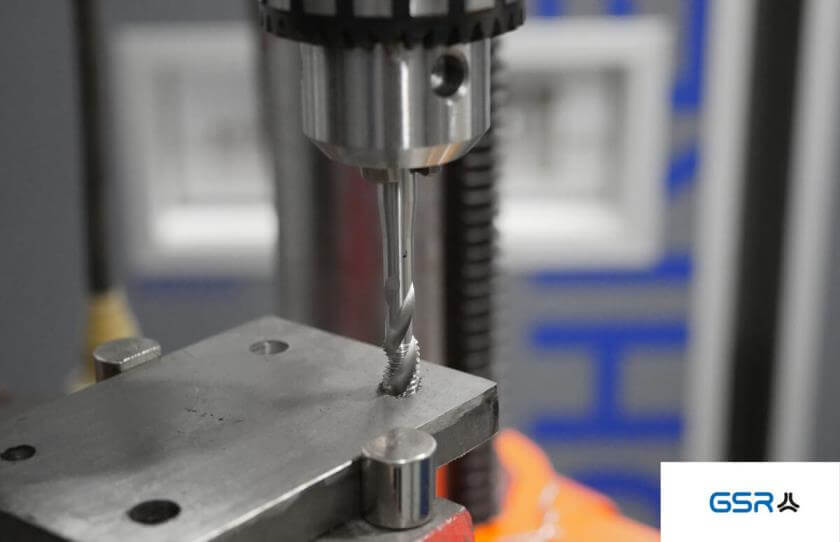
Now set the appropriate speed for your drill. For this purpose, you should refer to the operating instructions of your respective equipment manufacturer. Now we can clamp the twist drill with the cylindrical shank in the three-jaw chuck. To do this, push the drill bit completely into the open jaw chuck so that the drill bit is seated. This prevents the drill from slipping backwards during the drilling process. Now close the jaw chuck and tighten it with the appropriate tool (drill chuck key). Check that the drill is firmly and straightly seated before you start the drilling process.
Step 3: Drilling procedure
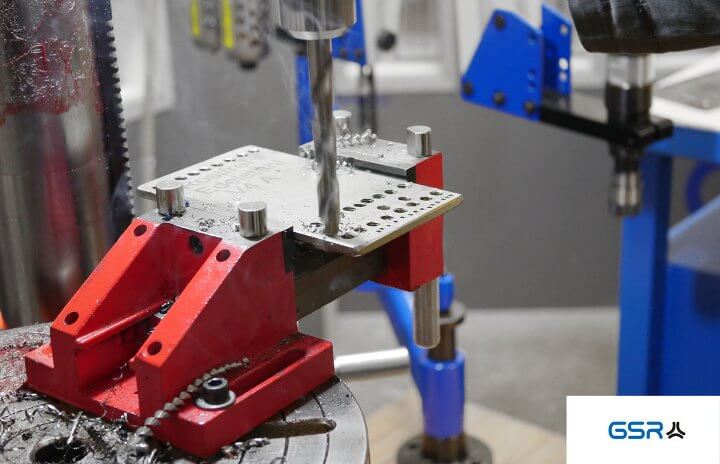
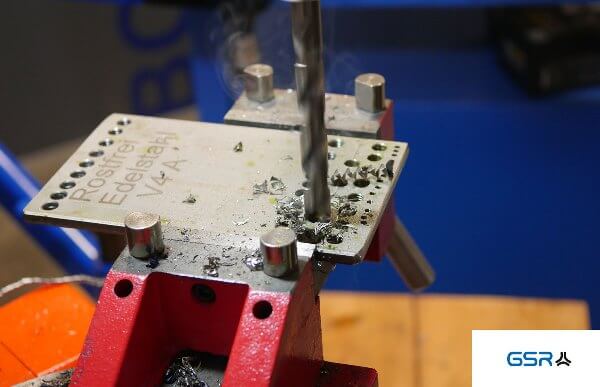
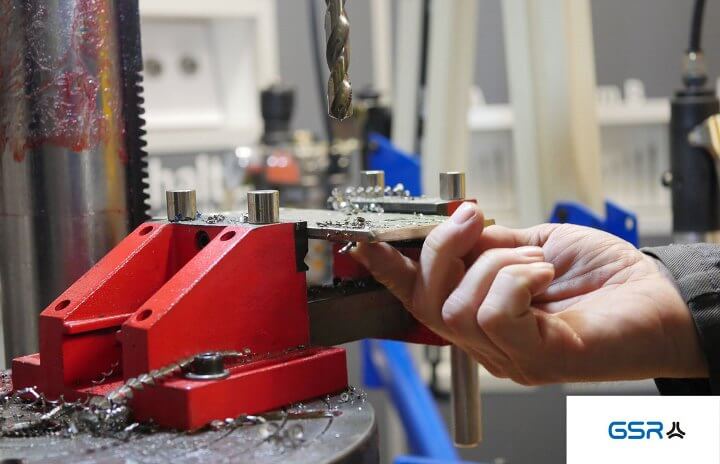
It is advisable to mark with a center punch the place where the hole is to be drilled. This prevents the drill from slipping away when you start drilling when you place the drill on the centre punch point. Switch on the machine before you hit the material and drill until the tip is immersed. Then add some drilling oil again. If you are drilling a through hole, it is important to reduce the pressure on the drill before piercing and carefully approach the last few millimetres. Larger boreholes should be drilled in several steps. First, pre-drill with a smaller drill bit. If you then continue drilling with a larger drill, special care is required: the drill tends to pull into the material. The workpiece must therefore be particularly well secured. At the end of the drilling process, the chips are removed. The edges of the hole are then deburred with a countersink.
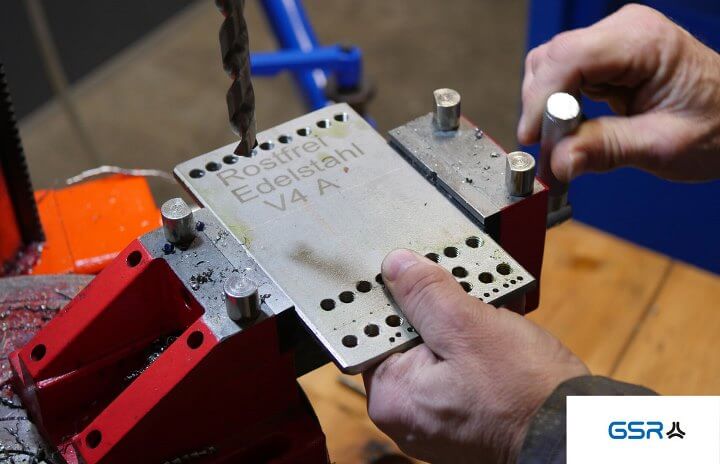
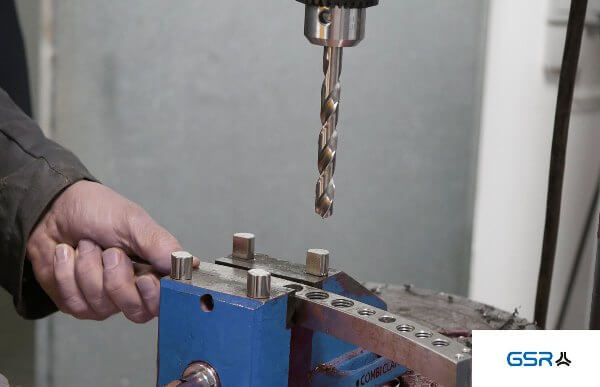
Drilling in metal: clamp the workpiece firmly in the vice
Drilling in metal: When drilling, you should work with drilling oil or drilling paste
Drilling in metal: Drill slowly and evenly
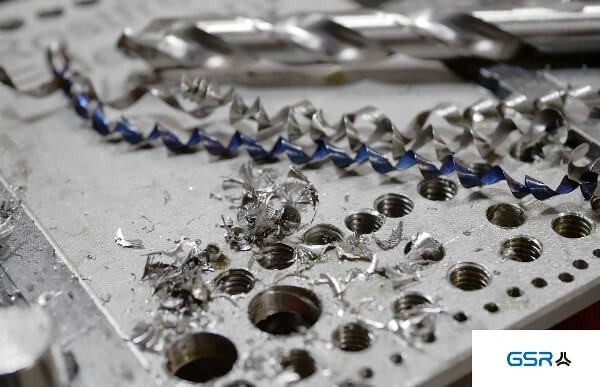
Drilling in metal: core hole or finished drill hole
We wish you a lot of fun while drilling! You will find products around drilling in our Shop.
