Today’s article is about calipers. Calipers are also called calipers or vernier calipers. Calipers are used to measure inner dimensions, outer dimensions and depth dimensions. More about this in this blog post.
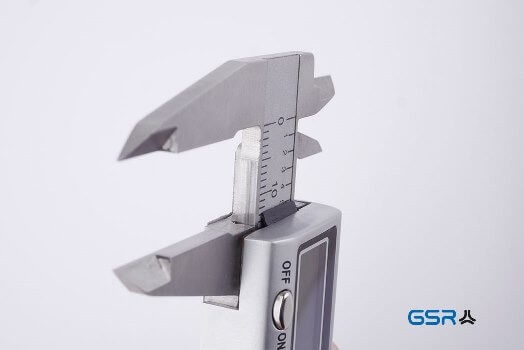
One of the most important tools for thread cutting is the caliper gauge, also known as caliper rule. You can use it to determine diameters, measure core holes in diameter and depth or the distance between two threads, i.e. the pitch of the thread.
Which calipers are available?
There are an incredible number of variants available on the market. There are basically two variants: the so-called analog caliper and the digital version. With the analog version, you read the measurement result on the scale on the caliper. However, you need to know the procedure.
How do I use the analog caliper correctly?
To avoid measuring errors, it is important to master the correct use of the caliper gauge. Correct reading also requires practice.
Nonius scale on analog calipers
The correct reading of the vernier scale. Here we explain step-by-step how to do it. The measuring accuracy is exactly 1/10 mm. The reading device is called nonius. It divides 9 mm into 10 equal parts. One part corresponds to 9/10 mm.
How do I measure with an analogue calliper and the vernier scale?
There are two scales on an analogue calliper: one on the fixed part, one on the moving part. On the fixed scale you read the mm, on the movable scale the 0.1 mm. But how? Well, reading is very simple: you look along the movable scale where a line corresponds to a line on the fixed scale. If it is a smooth mm, then the line at zero is in agreement with the upper scale. For example, if you move the lower scale to the middle of two lines on the upper scale, the result is most likely 5. If you do this between 10 and 11 mm, our measurement result is 10.5 mm. These ” decimal places ” are important for example for core hole measurements.
That leaves two questions: why is this so and how does it work?
Imagine, how would you insert further small lines between 10 and 11 mm to determine the decimal places. We would probably not be able to distinguish nine lines in this small space with the human eyes. Therefore, a clever mathematician came up with the idea of introducing this second movable scale. This principle is known as nonius. And now comes the point at which some people would like to bite the calliper: how can I explain this principle in two sentences. We will try it this way, but it is not entirely without mathematics: you all know a row of nine. It goes like this: 9,18,27,36, etc. What stands out? With the first nine you need a 1, with the second a 2 and with the third a 3 to advance to a full ten.
If we transfer this to the calliper, then a tens value means that the lines match. If we move the calliper to the right by 3 units, then we reach the tens value at three. The prerequisite is the following ingenious idea of the mathematician Vernier: he simply made the length unit of the movable scale a little shorter (by 1/100). To get a match, you have to move the calliper to the right to get exactly the length units that are missing on the shortened scale.
Simply put, the vernier is a “mathematical” magnifying glass mounted on a movable length scale!
Therefore it does not matter where the movable scale is located. The principle can be applied everywhere, because the ratio of the scales is always 10 : 9.
How do I use the digital caliper correctly?
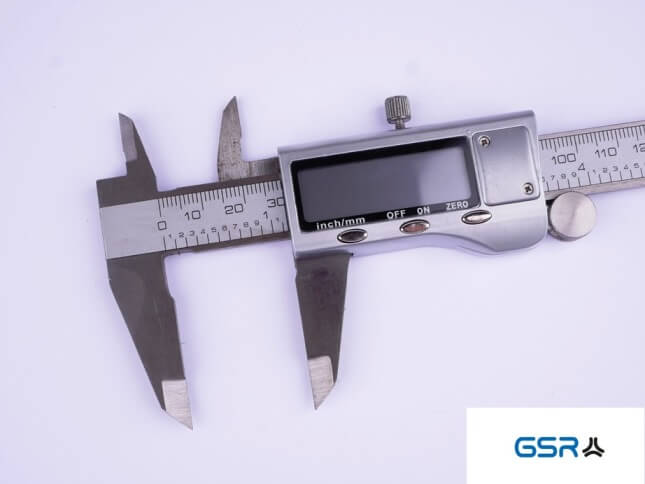
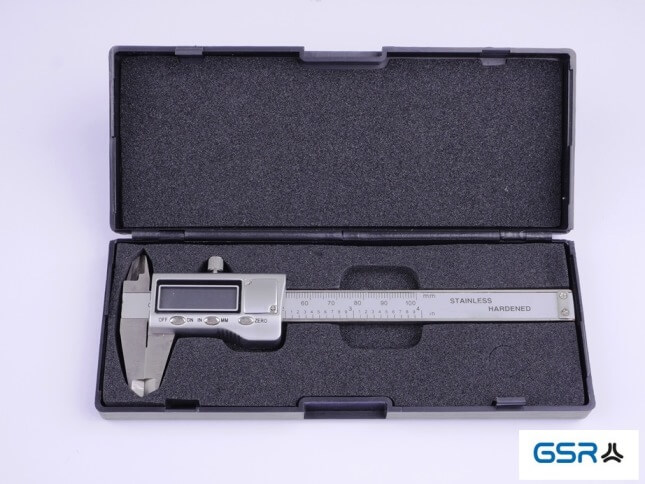
With the digital calliper the procedure is much more comfortable. Here the measuring result is shown on a display and can be read in plain text. This is very simple. In addition, you can choose between the indication in metric or inches. Some calipers also offer the possibility of transferring the data via an interface. Another advantage is the free selection of the zero point on the measuring scale.
So far, so good. However, two disadvantages should be mentioned. Firstly, you need a battery for the power supply and its capacity is limited, as with all current storage devices. If the digital calliper is not used regularly, the battery will discharge. Please also make sure that the digital calliper switches off automatically. Because people quickly forget to switch it off. Another drawback is system-related:
The digital calliper works on the capacitive linear encoder principle. There must always be a certain distance between the plates of capacitors in the fixed part and the signal generators in the sliding parts. The measuring principle can fail if exposed to dust, water or oil. If you work in such environments, you should remain analog or make sure that the parts are well encapsulated. As a result, you will have to prefer very expensive models.
The way of measuring is the same for both versions:
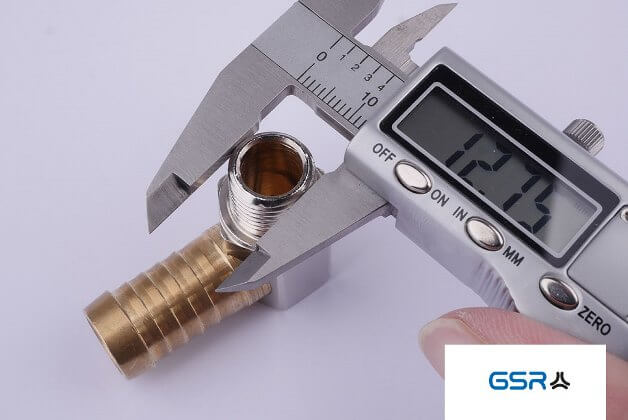
Error when measuring with the caliper gauge
You should pay attention to the following errors:
- Damage to the caliper gauge
- Tilting the calipers
- Measuring force too strong or too weak
- Incorrect reading
- Measuring on a rotating workpiece
- Contaminated calipers
- Non-compliance with the reference temperature (20 degrees Celsius)
Source: Basic knowledge of metal: technical knowledge – technical calculation – trade marks of trade and technology
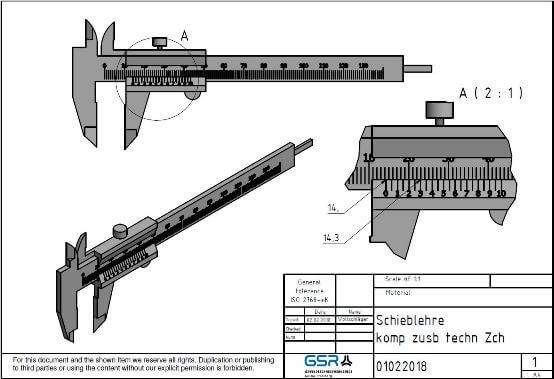
Components of a caliper gauge

- Fixed limb
- Movable leg
- Clamping screw
- Slider
- Nonius scale
- Slider
- Ruler
- Cutting edges for measuring incisions
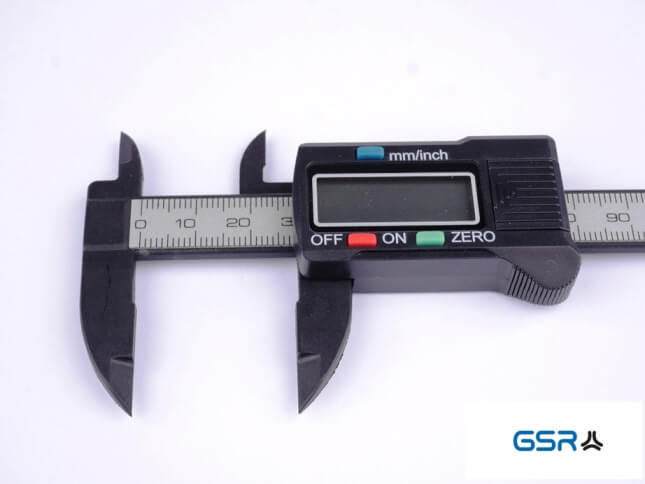
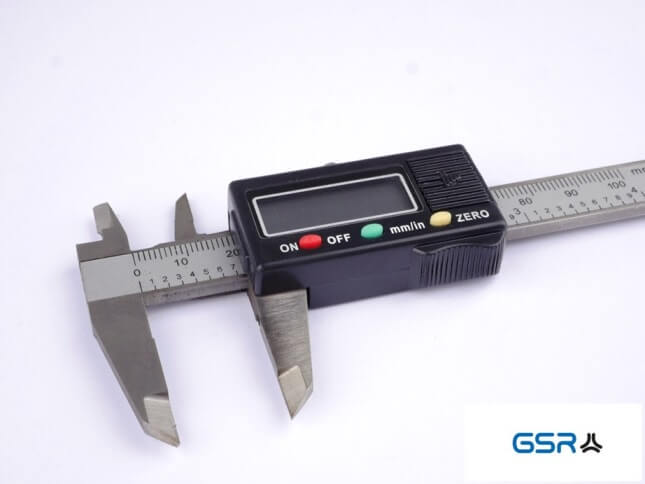
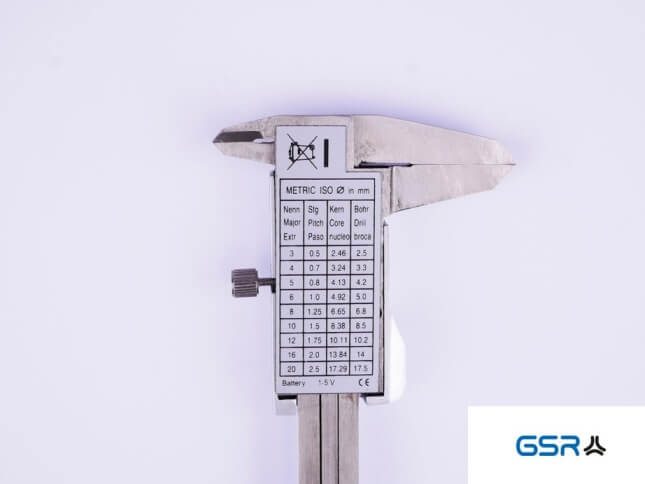
You can find calipers HIER in our shop
Conclusion: Digital or analogue calliper?
✅ Advantages of the digital calliper:
- ✅ Convenient and fast reading
- ✅ Metric and inches
❌ Disadvantages of the digital calliper:
- ❌ Battery for power supply
- ❌ Not resistant to dust, water and oil
✅ Advantages of the analogue calliper:
- ✅ Robust and durable
❌ Disadvantages of the analogue calliper:
- ❌ Practice reading the vernier scale
Calipers are available in our shop:
Caliper gauge – How do I measure threads?
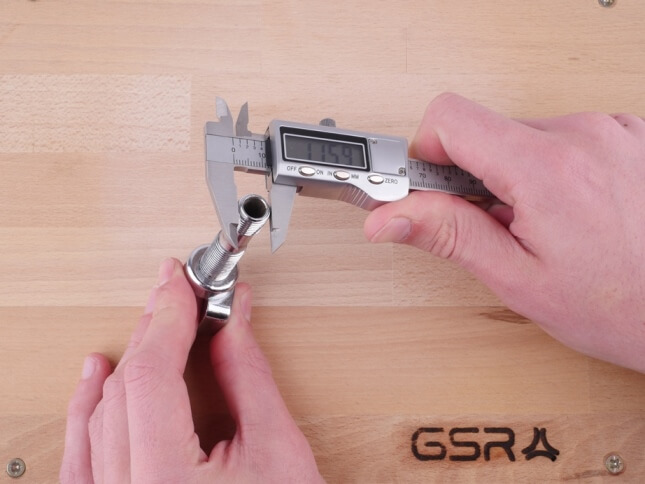
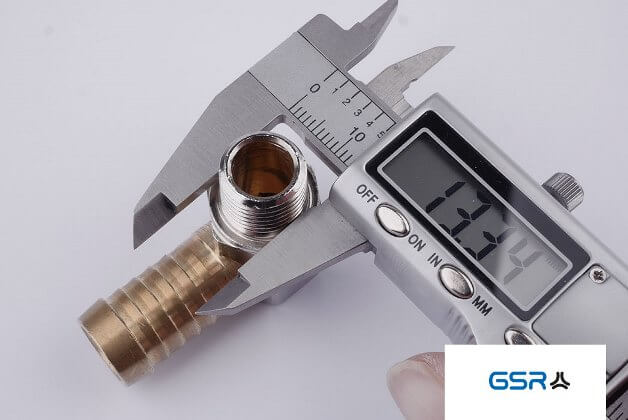
To determine the thread you need a caliper gauge to determine the diameter of the thread.
Please read our instructions:
1 Practical example: 3 steps for thread determination (1/4″ inch)

If you have specific questions, please do not hesitate to contact us.


