How to identify thread? Thread indentifivation guide? How do you determine thread size?
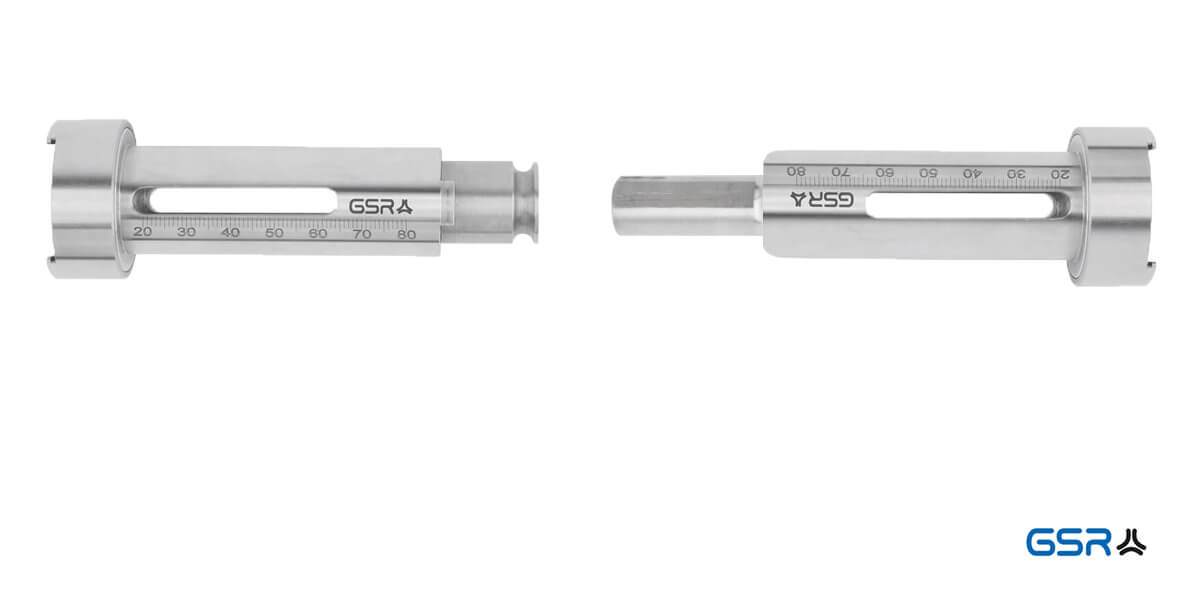
In many cases the user faces the problem of thread determination. If the external thread is still relatively easy to determine using the thread gauge and the core hole table, this is more difficult for internal threads. For a relatively quick determination, this can be determined from a thread size of approx. 20mm upwards with commercially available internal thread micrometers. However, this does not allow the flank angle measurement, so that it is hardly possible to distinguish between English and American inch threads. If one does not want (or is not able) to destroy the workpiece, all that remains without considerable technical effort is rough measuring and testing. This is done as follows:
Measure the core dimension of the thread with the outer legs of the calliper or other suitable measuring instruments. This should correspond to the core hole drilled before thread cutting. In the example we measure a diameter of approx. 23 mm.
The rule of thumb for determining the core hole diameter is
dk = D – P
(Core hole Ø = nominal Ø – pitch)
It follows: Nominal Ø = core hole Ø + pitch
For inch threads applies here:
1 inch corresponds to 25.4 mm (except G, NPT, NPTF, Rp, Rc and some other pipe threads)
The pitch for inch threads can be converted as follows:
25.4 mm (=1 inch) / tpi thread per inch
– According to the formula or in the table, there are several possibilities for this example:
M 24 x 1
M 25 x 2
G 5/8″ x 14 gear/inch ( > pitch 1.81 mm)
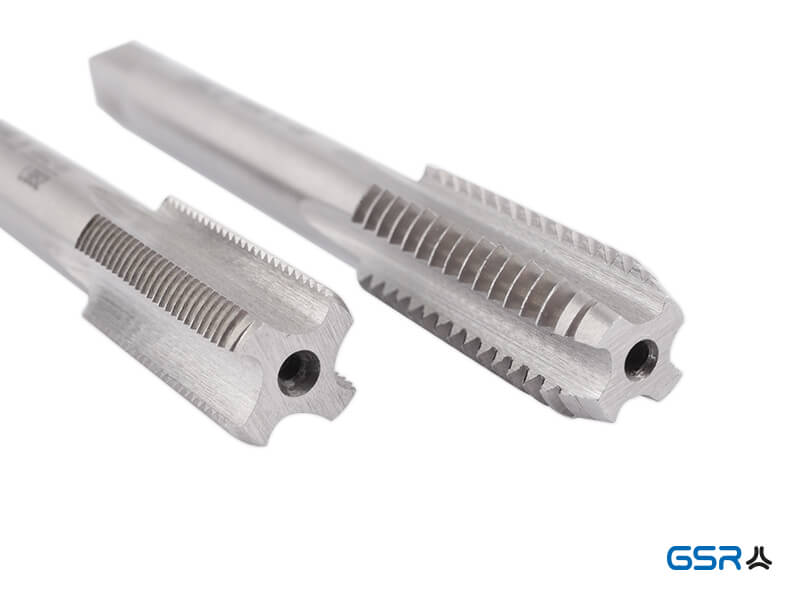
– At this point, for the reasons mentioned above, the only remaining test is to use suitable thread gauges or taps, whereby for the latter, only the corresponding pre-cutter should be used for testing, since due to the tolerances the finished taps can jam despite correct thread selection.


